
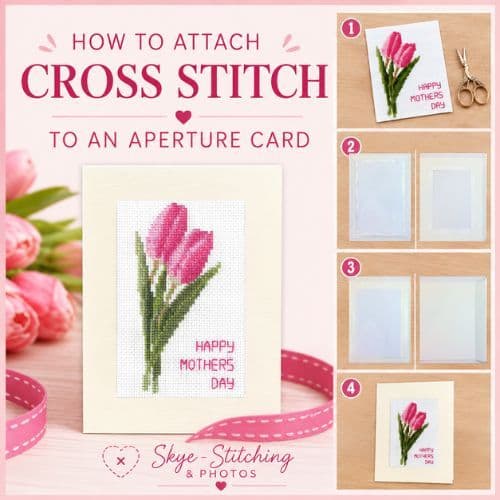
Have you finished your cross stitch and now need to attach it to an aperture card?
Turning your finished stitching into a handmade greeting card is easier than you might think. With a little double-sided tape and a few careful steps, you can create a neat, professional-looking finish.
In this guide, we'll show you how to attach your finished counted cross stitch to an aperture card, including an optional white paper backing if you're using a coloured card.
1. Prepare your finished stitching
First, trim your finished cross stitch so that it will fit neatly behind the aperture, leaving a small amount of fabric around the edge.
Before attaching anything, check the position of your design from the front of the card. Make sure it is straight and sitting where you want it before you start using the tape.
Optional: White paper backing for coloured cards
If you're using a coloured card, you may wish to add a piece of white paper behind the stitching. This helps prevent the colour of the card showing through the fabric.
Cut the paper slightly smaller than the trimmed fabric and attach it to the back of the stitching using double-sided tape.
Then we could have the relevant photograph here.
2. Attach the stitching to the card
Apply double-sided tape around the inside edge of the aperture card.
Carefully position the stitched fabric over the aperture and press it firmly onto the tape.
The stitching can be attached with or without the optional white paper backing.
3. Secure the outer edge
Once the stitching is fixed to the card, apply further strips of double-sided tape around the outer edge of the fabric.
This will allow the aperture panel to fix securely in place when the card is closed.
4. Fold and seal the card
Carefully fold the aperture panel flat over the back of the stitching.
Before sealing, double-check that your design is sitting correctly and that the card opens and closes properly.
Once you're happy with the position, press around the edges to make sure the panel is securely sealed in place.
And that's it!
Your finished cross stitch is now securely attached and your handmade card is ready to give.
Take your time when positioning the stitching — this is the most important part of the process. Once the tape has been pressed firmly into place, it can be difficult to reposition the fabric.
We hope this guide has been helpful. If you need any further help with attaching your stitching to an aperture card, please get in touch with us.
🪡 Looking for aperture cards for your next project?
We have a range of aperture cards in different sizes and styles, suitable for turning your finished counted cross stitch into a handmade greeting card. View our Aperture Cards
✨ You can also view our Aperture Card Assembly Instructions for a printable step-by-step guide.